Reviewing your timeline
The timeline view
Once processing finishes, your stream lands on the timeline page. Every part of the video is broken into segments, and every segment carries a suggestion from your editor:
- keep (green): worth including in the final edit
- cut (red): filler, dead air, or off-topic
- your call (yellow): the editor isn't sure, and wants you to decide
Click any segment to preview it in the right-hand panel. The video jumps straight to that moment so you can hear the actual content before deciding.
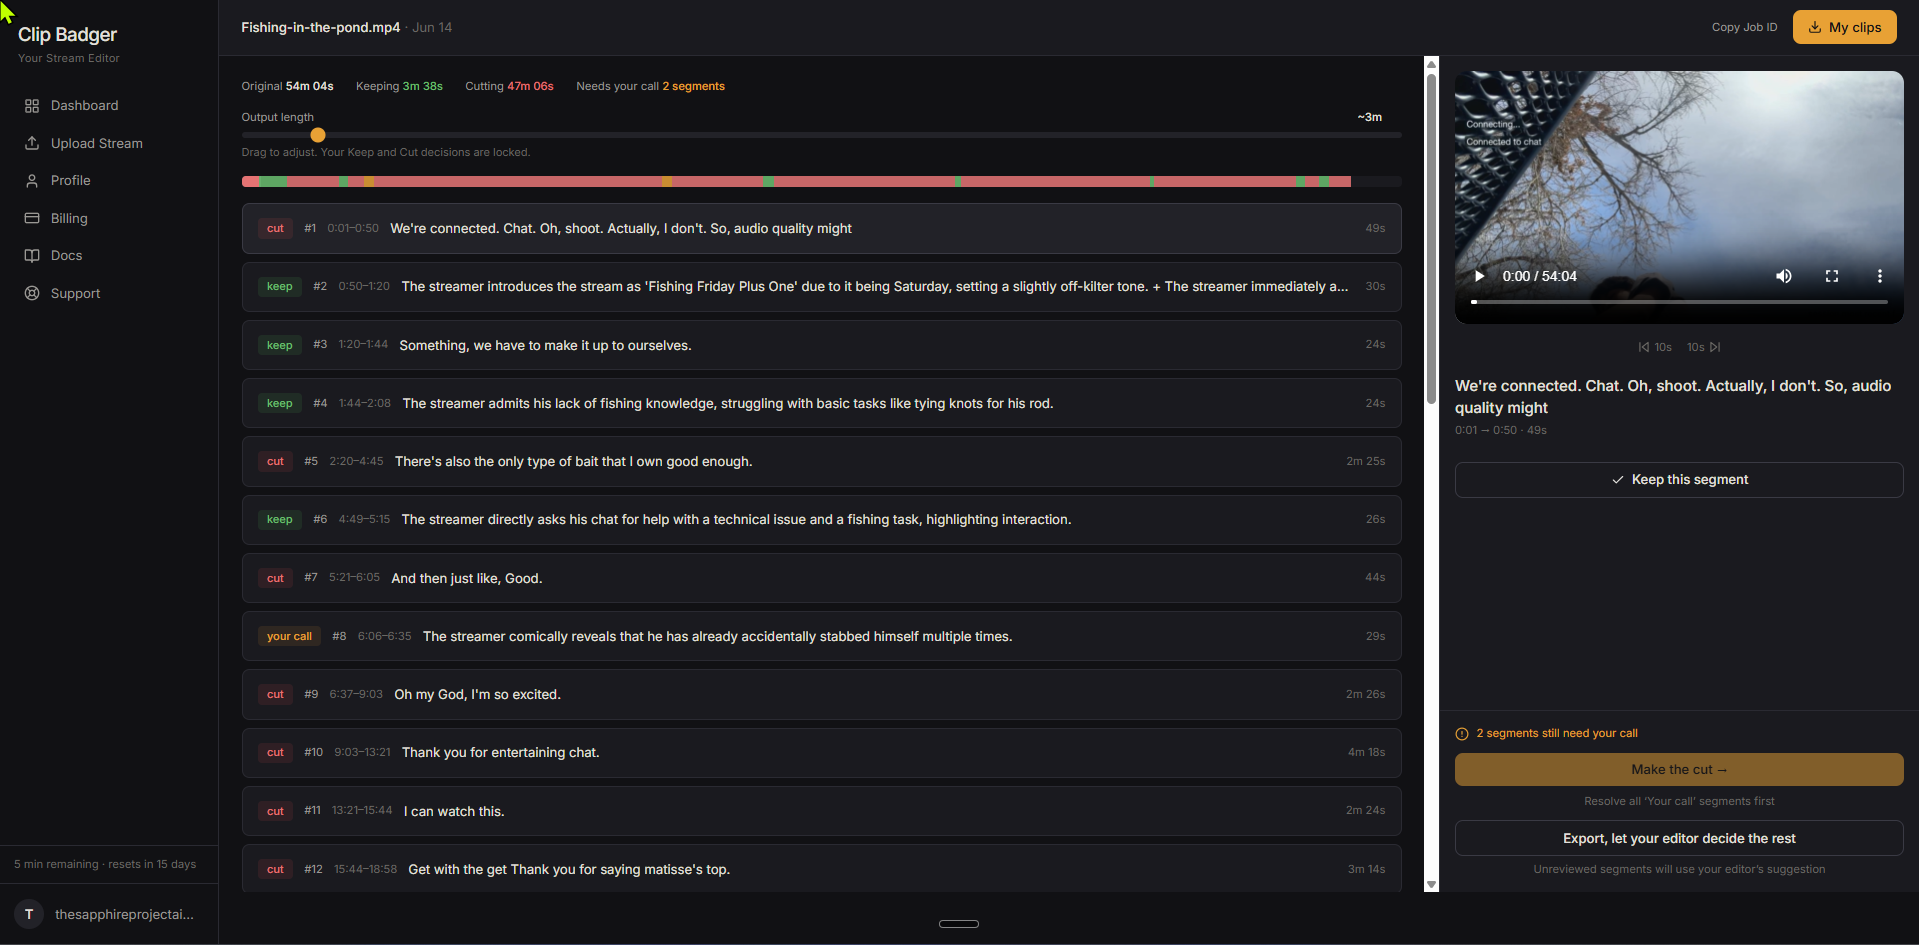
Keep segments carry a short label from your editor describing why that moment was selected, so you can see the reasoning at a glance. Cut segments show a raw snippet of the transcript from that section, so you can tell what's in it without playing it. Together these let you scan the timeline quickly and decide which cuts are worth a closer look.
Every segment also shows a sequence number, which gives you an easy way to reference a specific moment as you work.
The colored bar at the top is your overview. Each block is sized proportionally to its duration, so a 3-minute segment takes up more space than a 30-second one. Click any block to jump to that segment in the list below.

The stats bar
At the top of the page you'll see four numbers:
Original is the full length of your uploaded stream. Keeping is the total duration of all segments currently marked keep. Cutting is the total duration of all segments currently marked cut. Needs your call shows how many segments are still waiting for a decision.

The output length slider
The slider controls how long your final video will be. Drag it left for a tighter cut, drag it right to keep more of the stream.
The time shown next to the slider (like "~6m") is an approximate target. The exact duration of your current selections is shown in the right panel, above the "Make the cut" button.
The slider sets a time budget and fills it with the segments your editor thinks are most important. Once the budget is full, everything else is marked as cut. Your manual decisions are never touched by the slider. They're subtracted from the budget up front and left alone.
Sliding all the way to the right marks everything as keep. Sliding all the way to the left cuts all the segments that you haven't manually kept.
The slider is also a quick way to see which segments you've manually overridden. Drag it all the way to the right and any segments still showing red are ones you've manually cut. Drag it all the way to the left and any segments still showing green are ones you've manually kept. This makes it easy to spot your locked decisions at a glance.
Flipping decisions
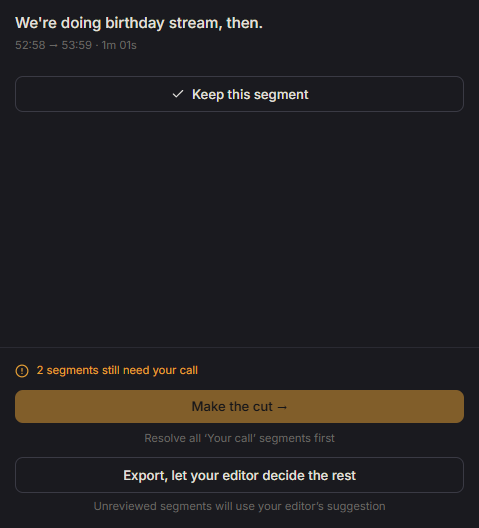
Every suggestion is just that, a suggestion. Select any segment to open it in the right panel, where you can preview the video and decide for yourself.
If you disagree with the editor's pick, use the "Keep this segment" or "Cut this segment" button in the right panel to flip it. To undo your override and return to the editor's original suggestion, use the "Reset to editor suggestion" button underneath.
Your manual keeps and cuts are locked in. Moving the slider or hitting reset won't undo them. The only way to unlock a manual decision is to use the "Reset to editor suggestion" button. Once reset, the slider can manage that segment again.
Exporting from the timeline
When you're happy with your timeline, hit "Make the cut." Your editor renders a new video with only the keep segments included. You'll get an email when it's ready to download.
If your timeline has any "your call" segments that haven't been resolved, the "Make the cut" button stays disabled until you decide on them. You can flip each one yourself, or use the "Export, let the editor decide the rest" button to let the editor make the final call on any remaining ones based on their scores.
Not every stream will have "your call" segments. If your editor was confident about every moment, you'll go straight to the "Make the cut" button with no extra steps.
My clips
The "My clips" button appears in the top right after your first export finishes. It takes you to the export page where you can download your rendered video. Until you've completed at least one export, the button won't show.
Copy Job ID
The "Copy Job ID" button in the top right copies your job's identifier to the clipboard. It's handy when you reach out to support, since it lets us pull up your exact stream right away.

Take your time
Your decisions are saved as you go. You can close the tab, come back tomorrow, and pick up exactly where you left off. Nothing happens until you choose to export.
Need help?
If something looks off on a specific stream, email us at support@clipbadger.com. To help us figure it out quickly, include these four things:
- Your Job ID. Click "Copy Job ID" in the top right of the timeline and paste it into your message. This is the fastest way for us to pull up your exact stream.
- The full URL from your browser's address bar. Copy and paste it directly so we land on the same page you're looking at.
- A full window screenshot. Capture the whole browser window, not just a crop. The surrounding UI often tells us as much as the issue itself.
- A clear description of what happened and what you expected to happen instead.
The clearer your description, the faster we can help. "The slider isn't working" is harder to solve than "I dragged the slider to 50% and only the keep duration changed, but no segments turned red." Both get a response, but the second one gets a fix sooner.